MRTK のビルドとデプロイ
アプリケーションを HoloLens, Android, iOS などのデバイス上でスタンドアロン アプリとして実行するには、Unity プロジェクトでビルドとデプロイのステップが必要です。MRTK を使ったアプリケーションのビルドとデプロイ方法は、他の Unity アプリケーションのビルドとデプロイ方法と同様です。MRTK 特有の方法はありません。HoloLens 向けに Unity アプリケーションをビルド、デプロイする方法の詳細なステップは、以下をお読みください。他のプラットフォーム向けのビルドについては、 Publishing Builds をご確認ください。
HoloLens 1 または HoloLens 2 (UWP) への、MRTK のビルドとデプロイ
Hololens 1 または Hololens 2 (UWP) へビルドとデプロイする方法の説明は、building your application to device をご覧ください。
ヒント: WMR (Windows Mixed Reality), HoloLens 1, HoloLens 2 向けにビルドする際は、ビルド設定の 「Target SDK Version」 と 「Minimum Platform Version」 を以下の画像のように設定することをおすすめします。
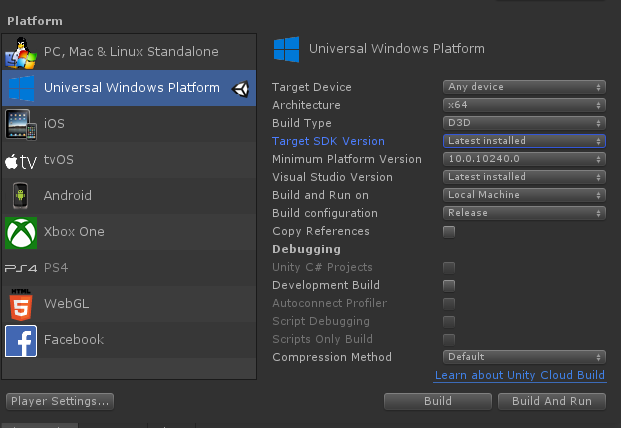
その他の設定は違っていることもあります。(例えば、Build Configuration, Architecture, Build Type やその他いくつかの設定は、 Visual Studio のソリューションでいつでも変更可能です。)
「Target SDK Version」 のドロップダウンに 「10.0.18362.0」 が含まれていることを確認してください。もし存在しない場合は、 最新の Windows SDK のインストールが必要です。
Unity 2019.3 and HoloLens
If a HoloLens app appears as a 2D panel on device, make sure the following settings have been configured in Unity 2019.3.x before deploying your UWP app:
If using the legacy XR:
- Navigate to Edit > Project Settings, Player
- Under XR Settings in the UWP tab, make sure Virtual Reality Supported is enabled and the Windows Mixed Reality SDK has been added to SDKs.
- Build and deploy in Visual Studio
If using the XR-Plugin:
- Follow the steps found in Getting Started with XRSDK
- Make sure the configuration profile is the DefaultXRSDKConfigurationProfile
- Navigate to Edit > Project Settings, XR-Plugin Management and make sure Windows Mixed Reality is enabled.
- Build and deploy in Visual Studio
Important
If using Unity 2019.3.x, select ARM64 and not ARM as the build architecture in Visual Studio. With the default Unity settings in Unity 2019.3.x, a Unity app will not deploy to a HoloLens if ARM is selected due to a Unity bug. This can be tracked on Unity's issue tracker.
If the ARM architecture is required, navigate to Edit > Project Settings, Player, and under the Other Settings menu disable Graphics Jobs. Disabling Graphics Jobs will allow the app to deploy using the ARM build architecture for Unity 2019.3.x, but ARM64 is recommended.
Building and deploying MRTK to a Windows Mixed Reality Headset
The Windows Mixed Reality (WMR) headset can be used for Universal Windows Platform (UWP) and Standalone builds. A Standalone build for a WMR headset requires the following extra steps:
Note
Unity's XR SDK also supports native WMR in Standalone builds, but does not require SteamVR or WMR plugin. These steps are required for Unity's legacy XR.
- Install Steam
- Install SteamVR
- Install the WMR Plugin
How to use WMR plugin
Open Steam and search for the Windows Mixed Reality Plugin
- Make sure SteamVR is closed before launching the WMR Plugin. Launching the WMR plugin also launches SteamVR.
- Make sure the WMR headset is plugged in.
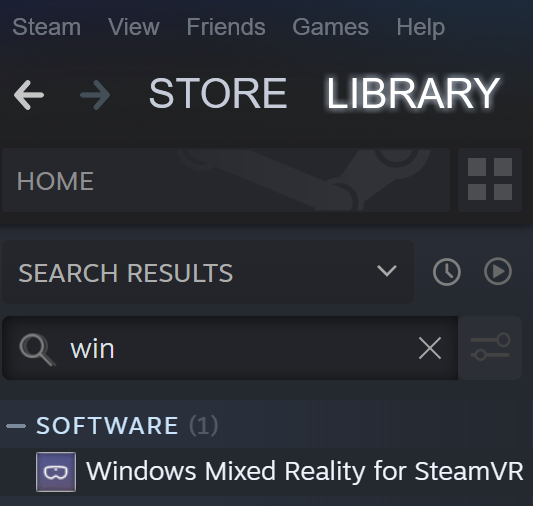
Select Launch for the Windows Mixed Reality for SteamVR Plugin.
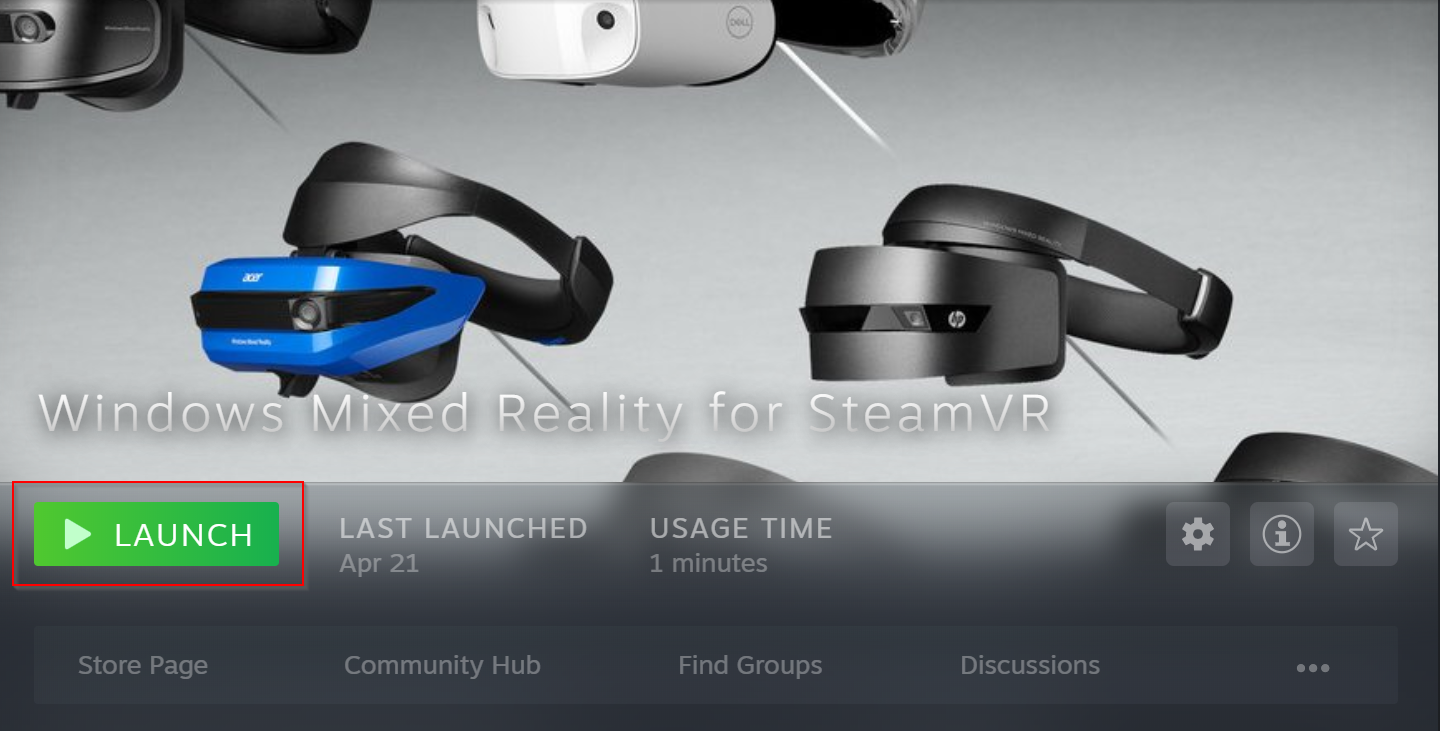
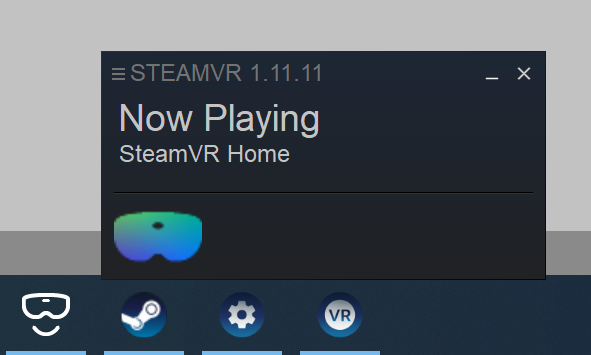
SteamVR and the WMR plugin will launch and a new tracking status window for the WMR headset will appear.
For more information visit the Windows Mixed Reality Steam Documentation
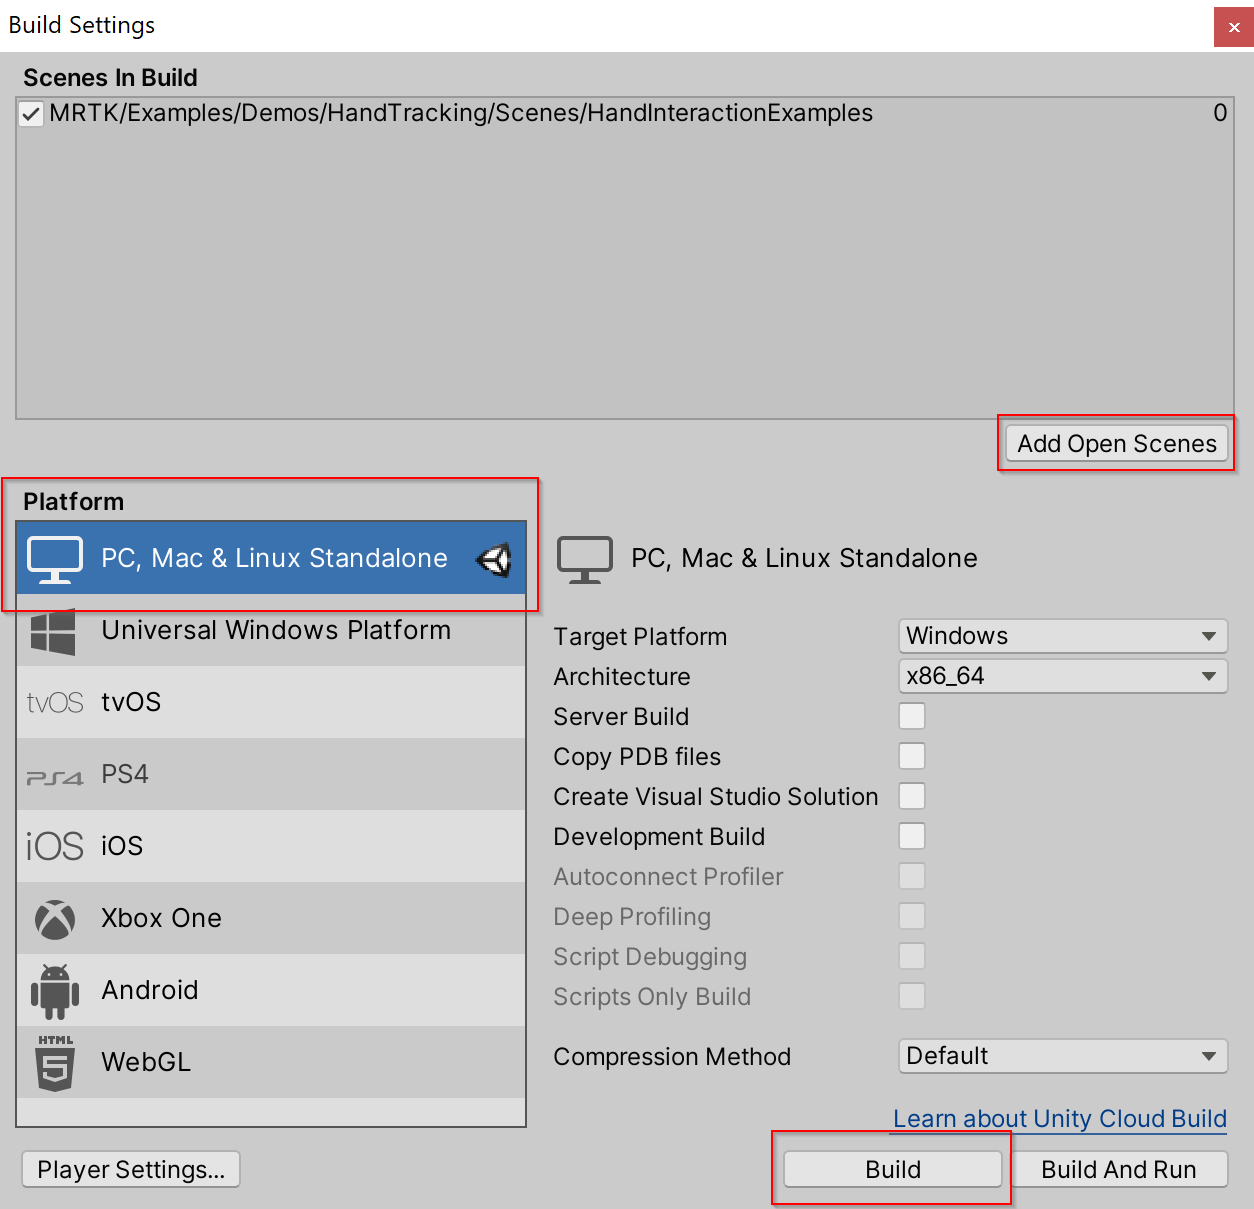
In Unity, with your MRTK scene open, navigate to File > Build Settings
Build the scene
- Select Add Open Scene
- Make sure the Platform is Standalone
- Select Build
- Choose the location for the new build in File Explorer
A new Unity executable will be created, to launch your app select the Unity executable in File Explorer.
