How to configure MRTK for iOS and Android [Experimental]
Install required packages
Download and import the Microsoft.MixedReality.Toolkit.Unity.Foundation package, from GitHub or the Unity Package Manager
In the Unity Package Manager (UPM), install the following packages:
Unity 2018.4.x
Android iOS Comments AR Foundation
Version: 1.5.0 - preview 6AR Foundation
Version: 1.5.0 - preview 6For Unity 2018.4, this package is included as a preview. To view the package: Window>Package Manager>Advanced>Show Preview PackagesARCore XR Plugin
Version: 2.1.2ARKit XR Plugin
Version: 2.1.2Unity 2019.4.x
Android iOS AR Foundation
Version: 2.1.8AR Foundation
Version: 2.1.8ARCore XR Plugin
Version: 2.1.11ARKit XR Plugin
Version: 2.1.9Unity 2020.1.x (Not currently formally supported, included for informational purposes only)
Android iOS AR Foundation
Version: 3.1.3AR Foundation
Version: 3.1.3ARCore XR Plugin
Version: 3.1.4ARKit XR Plugin
Version: 3.1.3Update the MRTK UnityAR scripting defines by invoking the menu item: Mixed Reality Toolkit > Utilities > UnityAR > Update Scripting Defines
Enabling the Unity AR camera settings provider
The following steps presume use of the MixedRealityToolkit object. Steps required for other service registrars may be different.
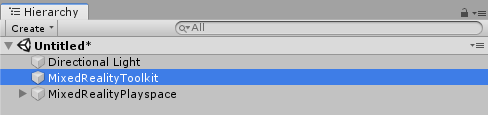
Select the MixedRealityToolkit object in the scene hierarchy.
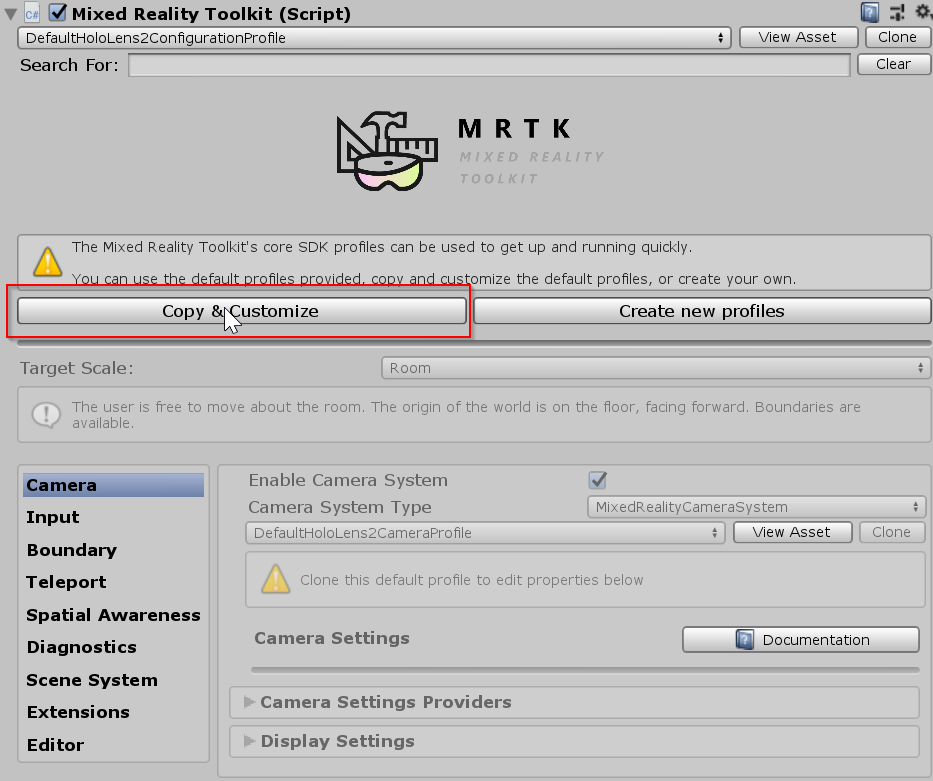
Select Copy and Customize to Clone the MRTK Profile to enable custom configuration.
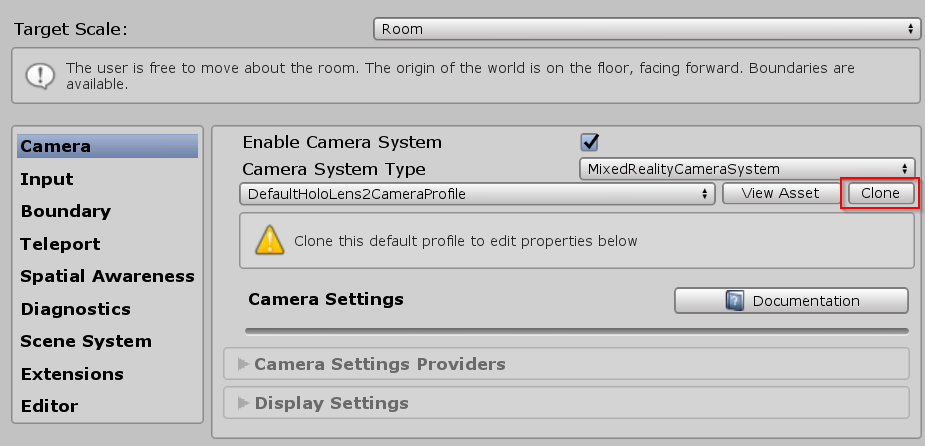
Select Clone next to the Camera Profile.
Navigate the Inspector panel to the camera system section and expand the Camera Settings Providers section.

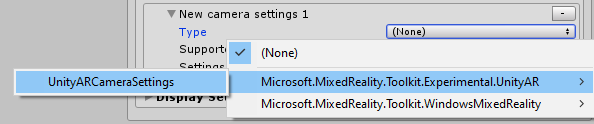
Click Add Camera Settings Provider and expand the newly added New camera settings entry.

Select the Unity AR Camera Settings provider
For more information about configuring the Unity AR camera settings provider: Unity AR camera settings provider.
Note
This installation checks (when the application starts) if the AR Foundation components are in the scene. If not, they are automatically added to make it work with ARCore and ARKit. If you need to set a specific behaviour, you should add the components you need by yourself. For more information about AR Foundation components and installation, check this documentation.
Building a scene for Android and iOS devices
Make sure you have added the UnityAR Camera Settings Provider to your scene.
Switch platform to either Android or iOS in the Unity Build Settings
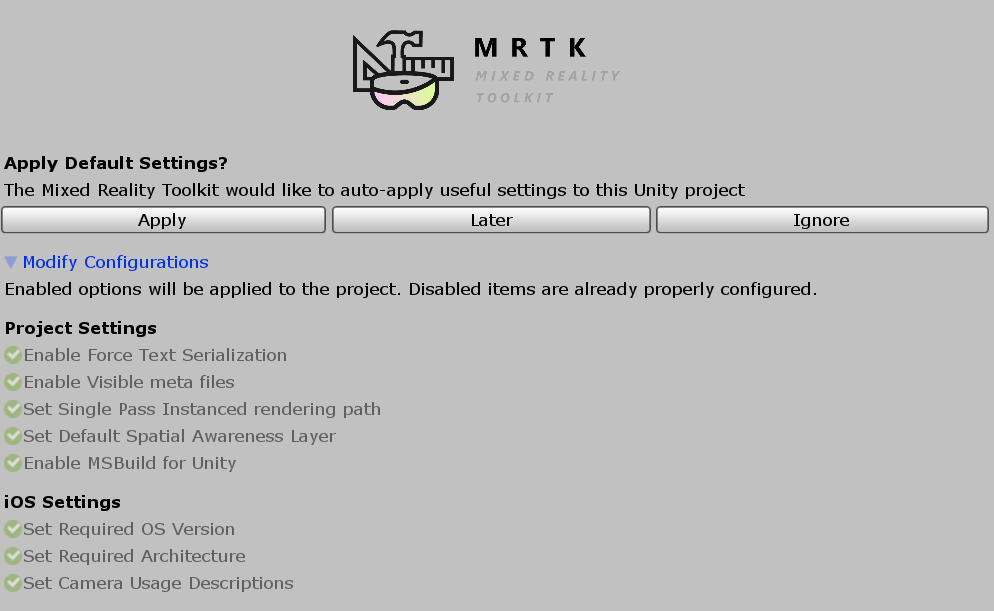
When you switch the platform you should see the MRTK Project Configurator Window with settings for your chosen platform. Click Apply to enable platform specific settings.
iOS Project Configurator Settings
There are no additional steps after switching the platform for Android.
If the platform is iOS, Edit > Project Settings > Player > Other Settings, under the Optimization header, uncheck Strip Engine Code
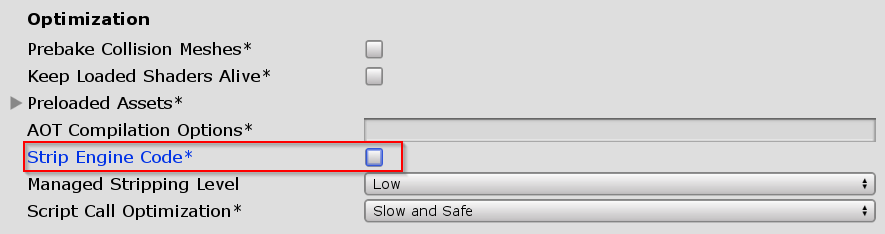
Note
Unchecking Strip Engine Code is the short term solution to an error in Xcode #6646. We are working on a long term solution.
Build and run the scene